|
This post may contain affiliate links. Using them does not cost you anything extra and it helps support this blog and our volunteer work! Thank you so much :)
Our English congregation recently had a special ministry day where we worked along side the Portuguese language congregation. To start the day off on a "sweet" note, I thought it would be fun to bring a little treat. Alas, time escaped me and all I managed to do was buy a few bags of candy.
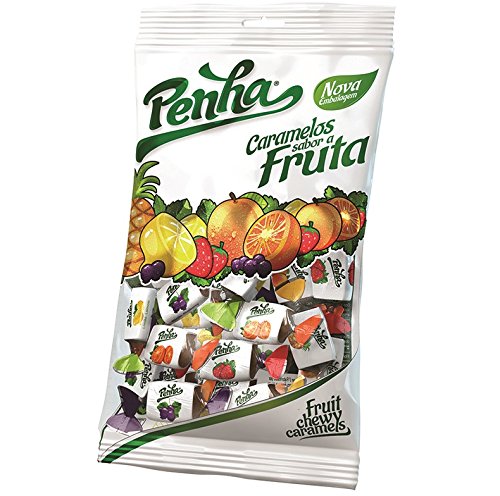
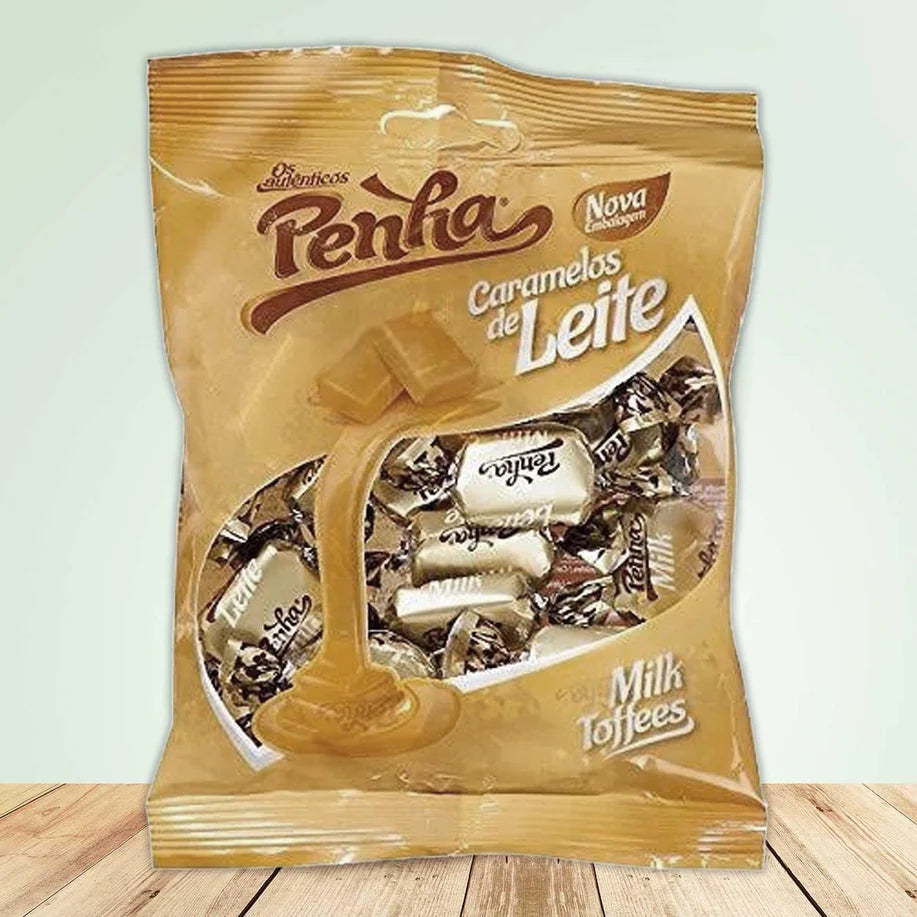
Penha Portuguese Candy
I went with a Portuguese favorite, Penha brand candies. Caramelos Sabor a fruit and caramels de leite. They are a soft candy with a lot of flavor and no artificial coloring, by the way!
The problem.
We picked up the candy after a long day at the carts, the night before our special ministry day. Unfortunately the grocery store didn't have any little baggies to make them cute and I wanted it to feel more special than just holding out a bag of candy, you know? But at home I don't have any tiny baggies, scotch tape, glue, ribbon, basically no crafting supplies as I gave them all away when we moved. All I had was paper and we finally got a printer! (It's an HP OfficeJet Pro 9010 series-AirPrint)
The solution.
Tried a few origami candy bag tutorials on YouTube. Give up on that idea. Instead decided to embrace simplicity and homemadeness with paper and scissors :)
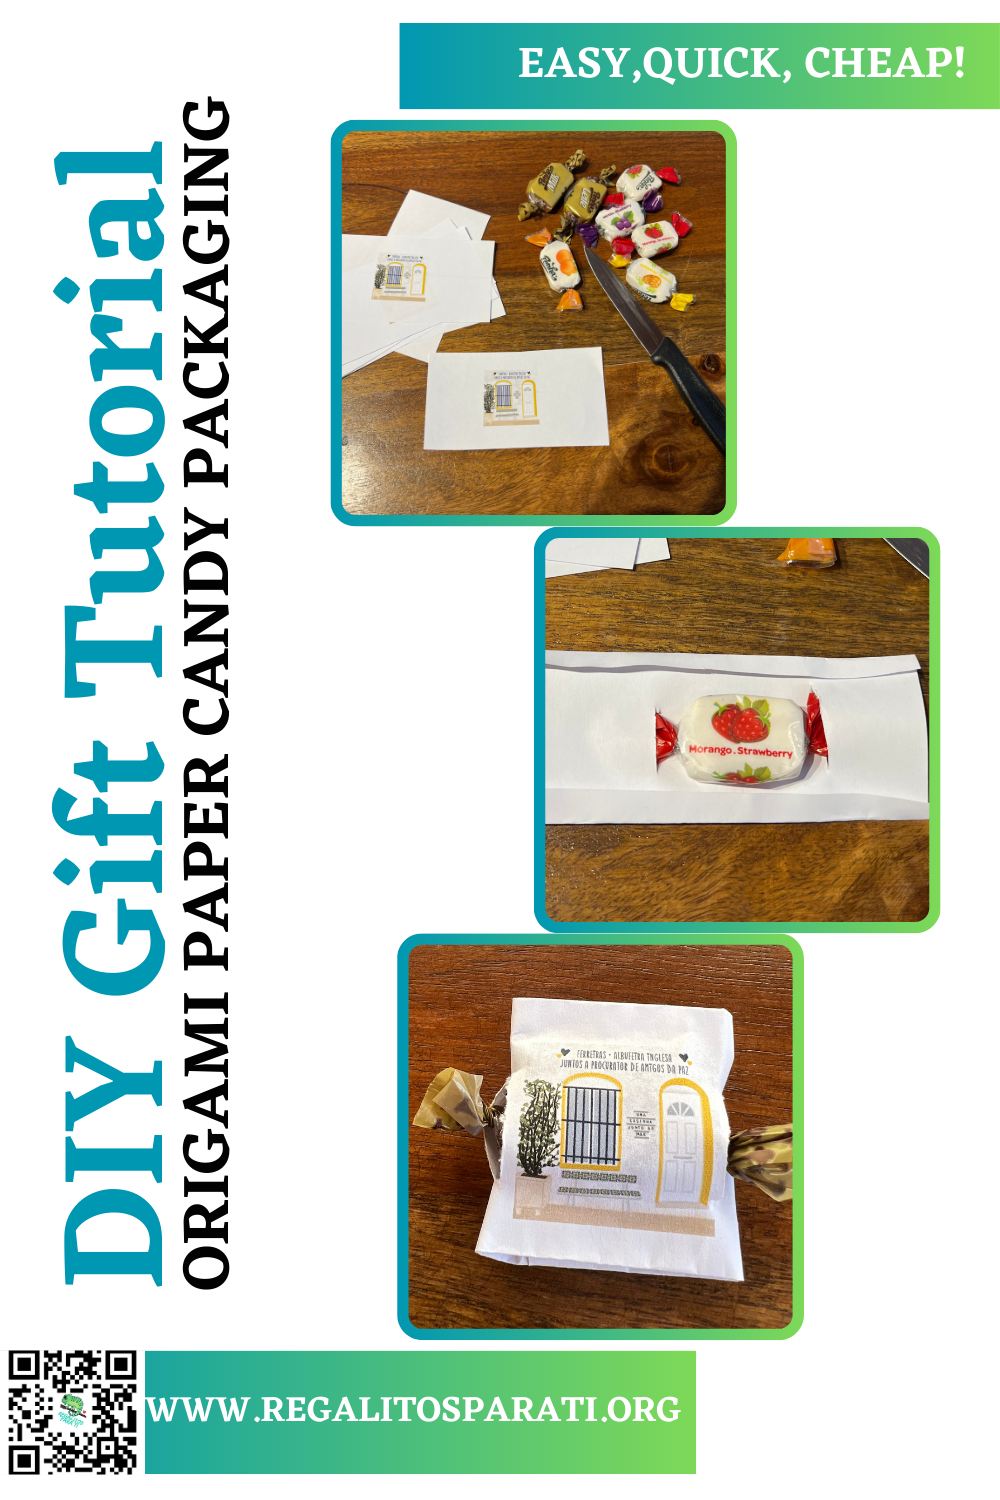
Here's a vague tutorial
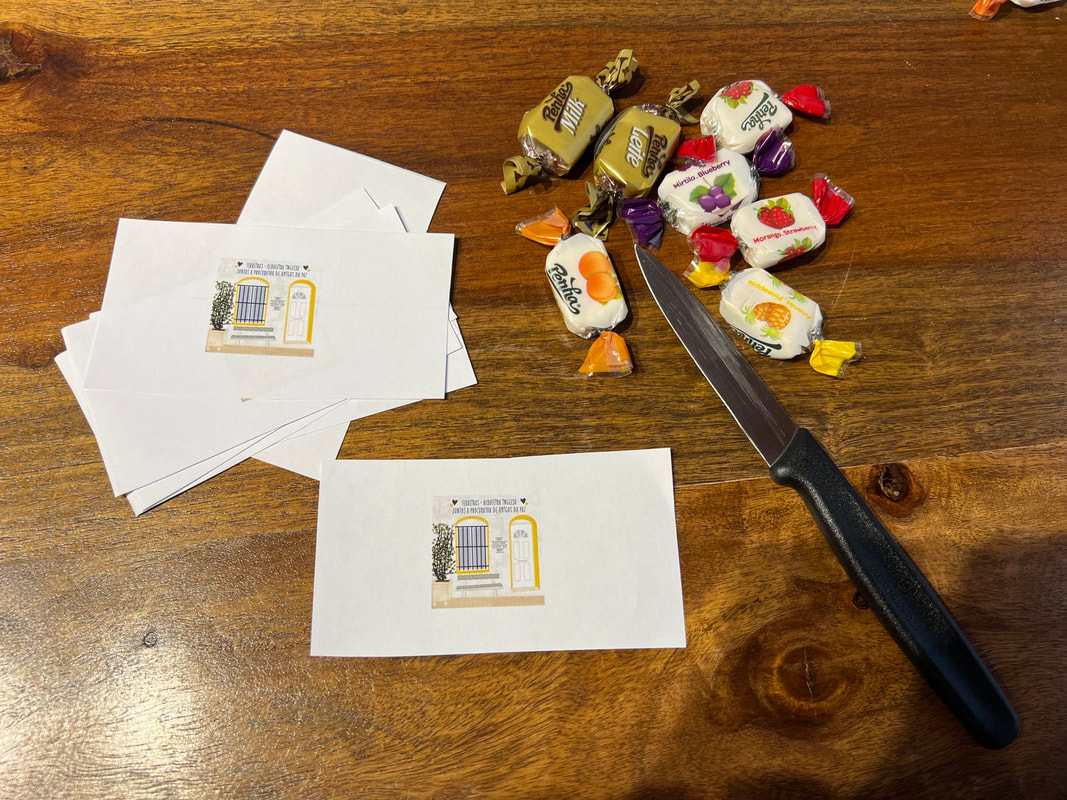
2. Gather Supplies
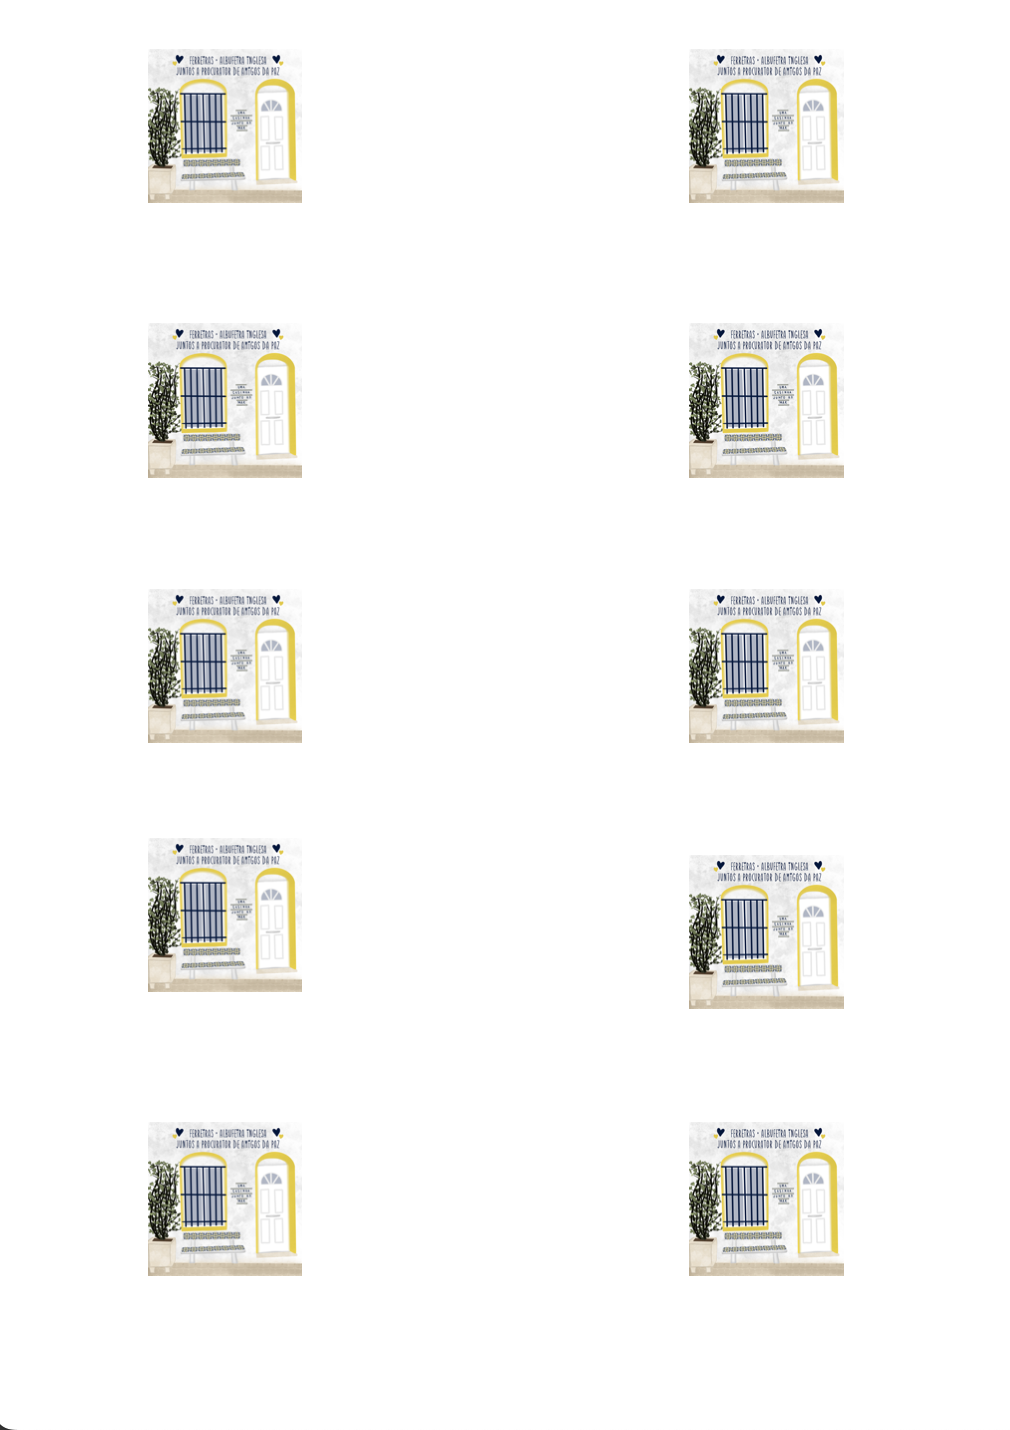
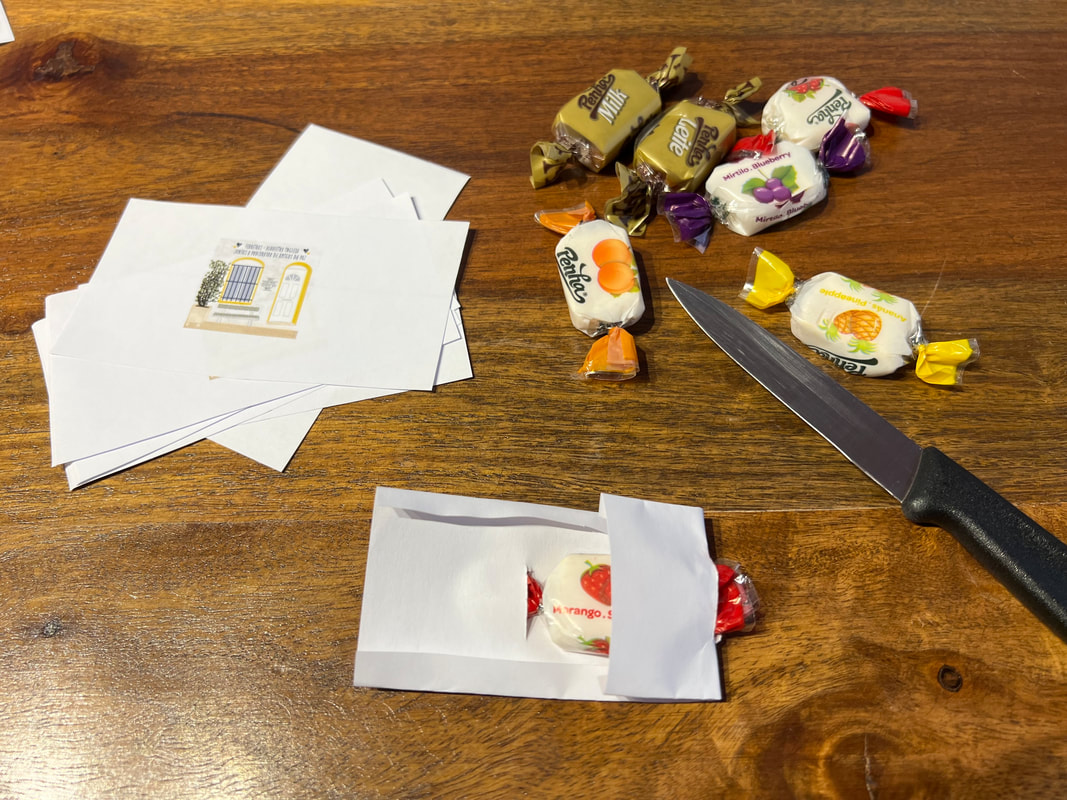
Cut out the papers and gather your supplies!
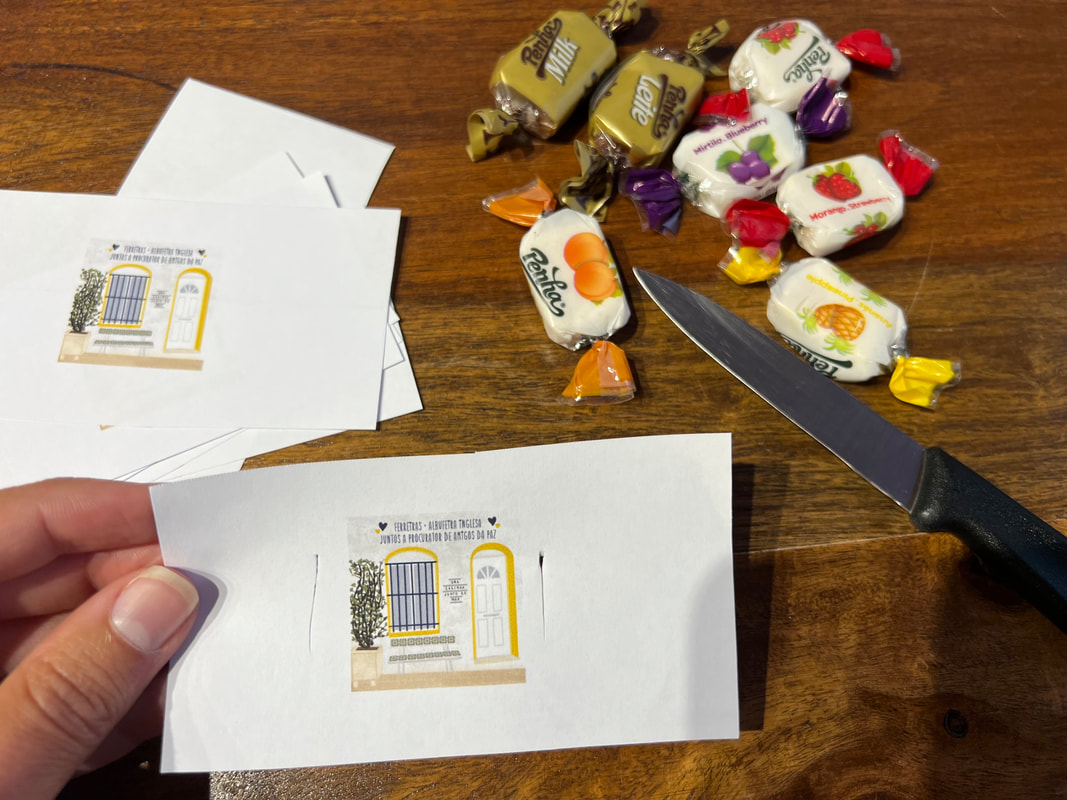
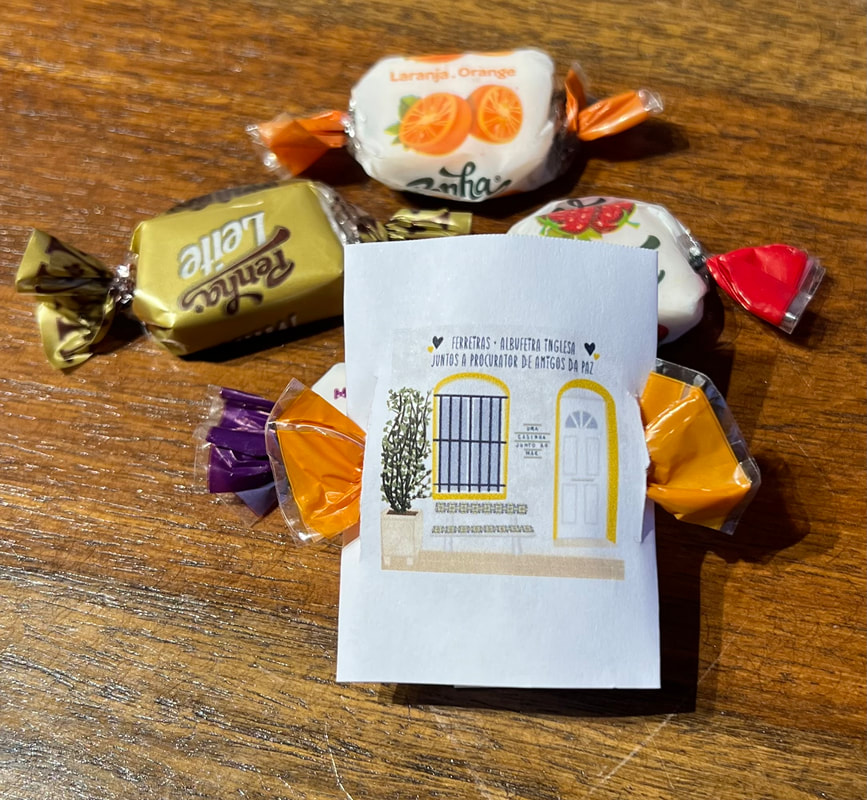
3. Make slits on either side of the artwork
I literally used my favorite paring knife for this lol
It's the best and I highly recommend adding it to your knife collection, it's affordable and top notch. --> See Also This Article: Best Kitchen Knives on Amazon
As you can see, no real science here. Just flying by the seat of my pants!
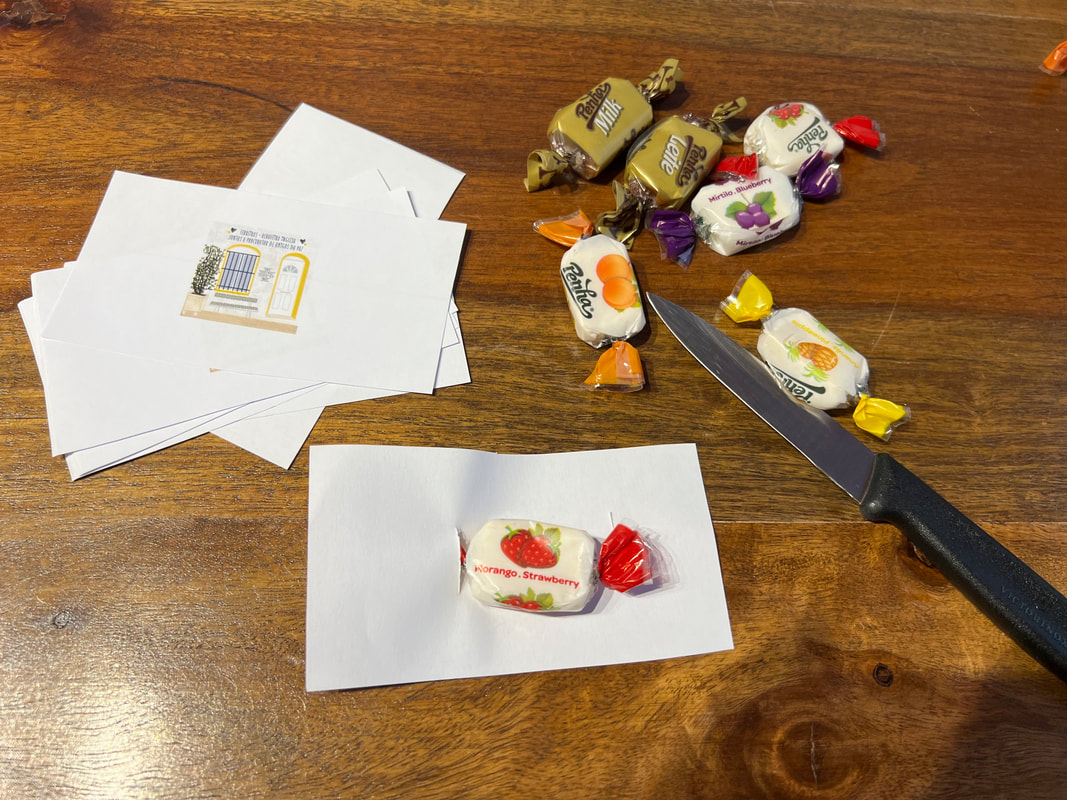
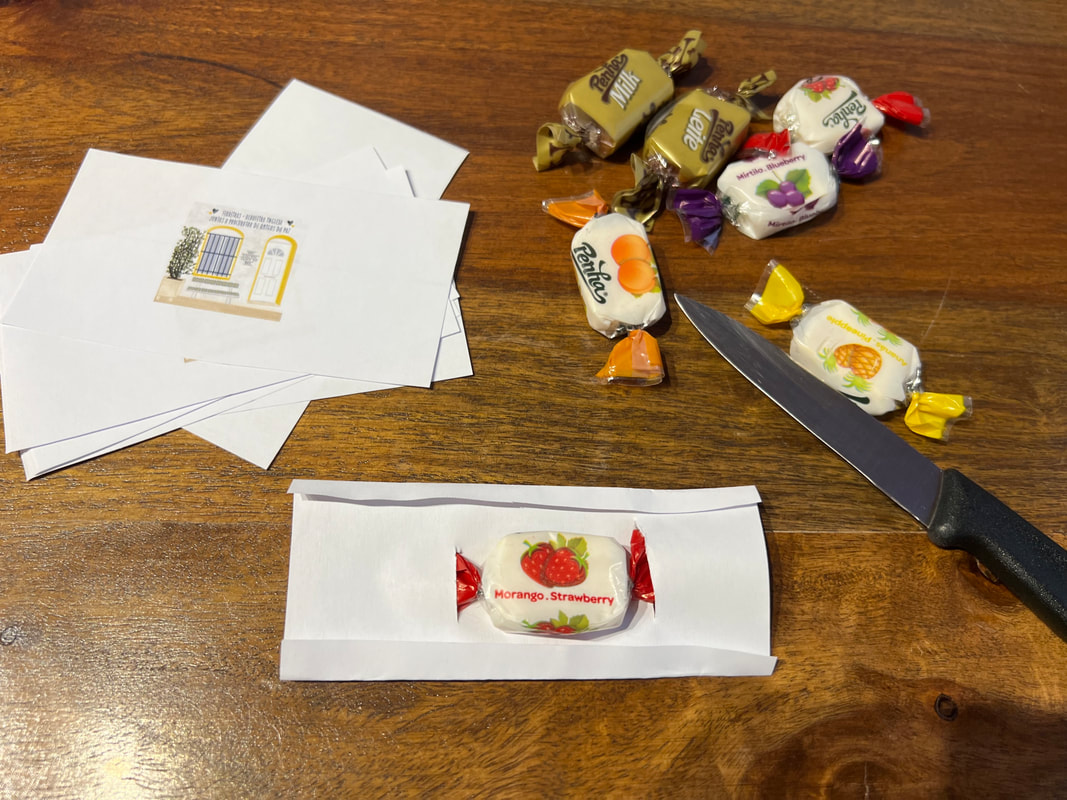
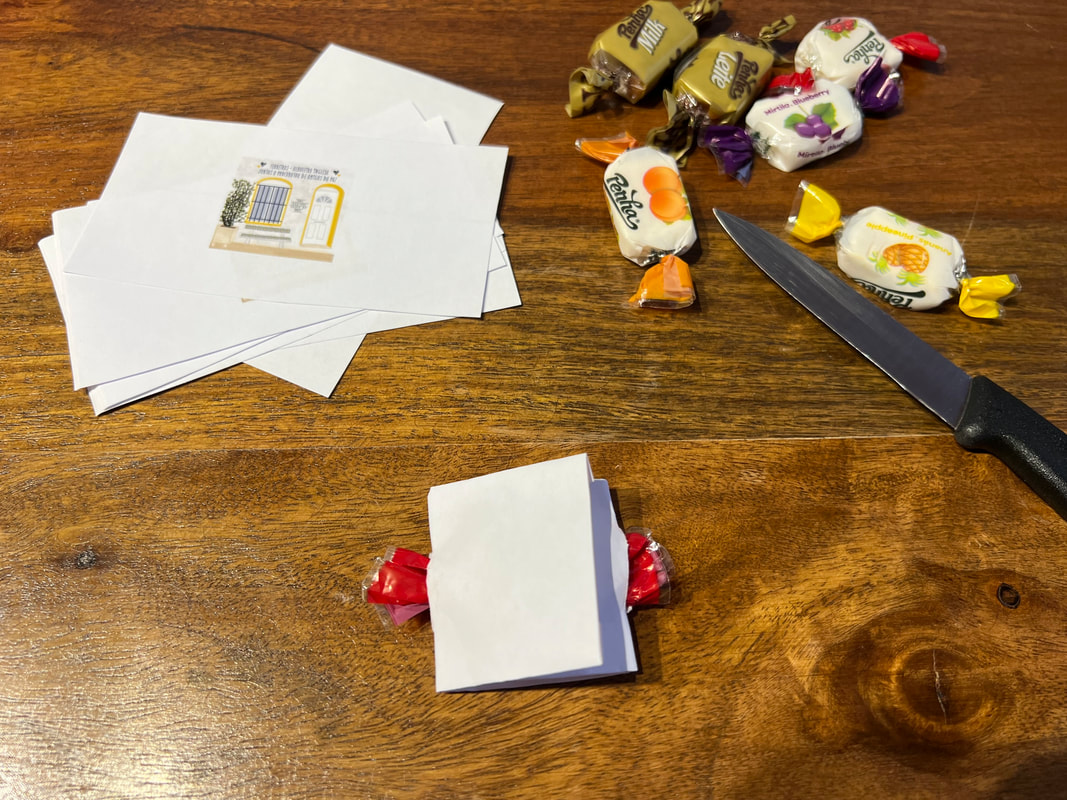
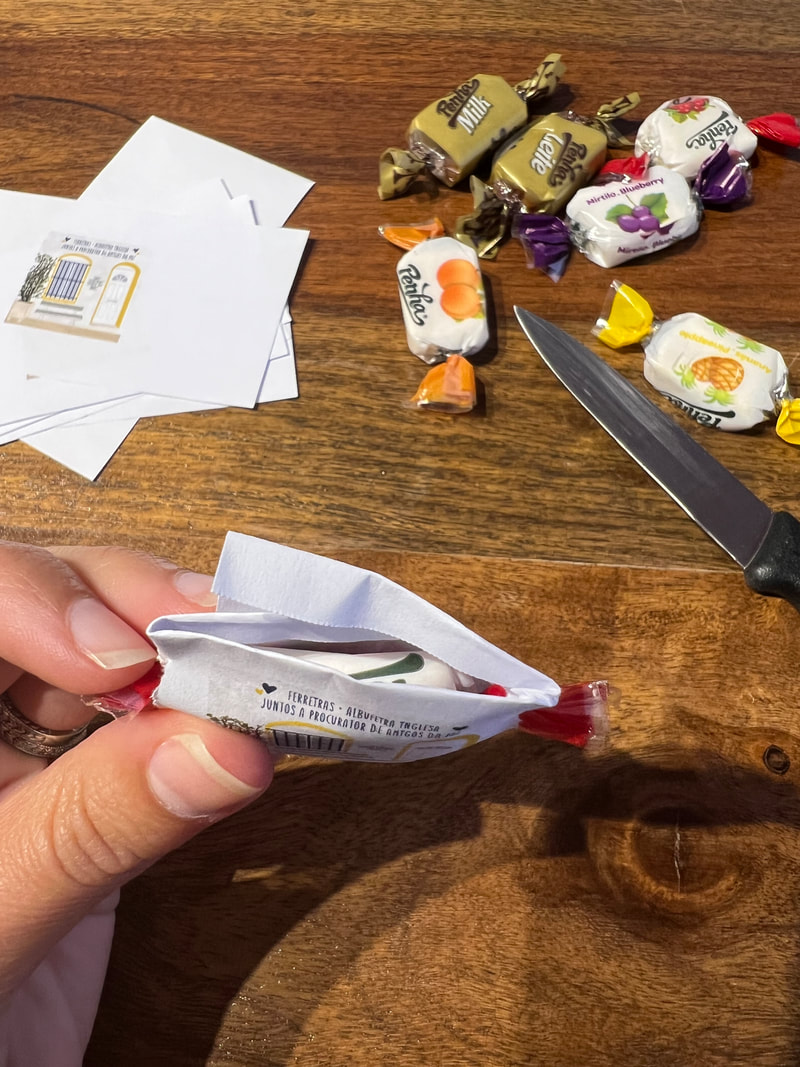
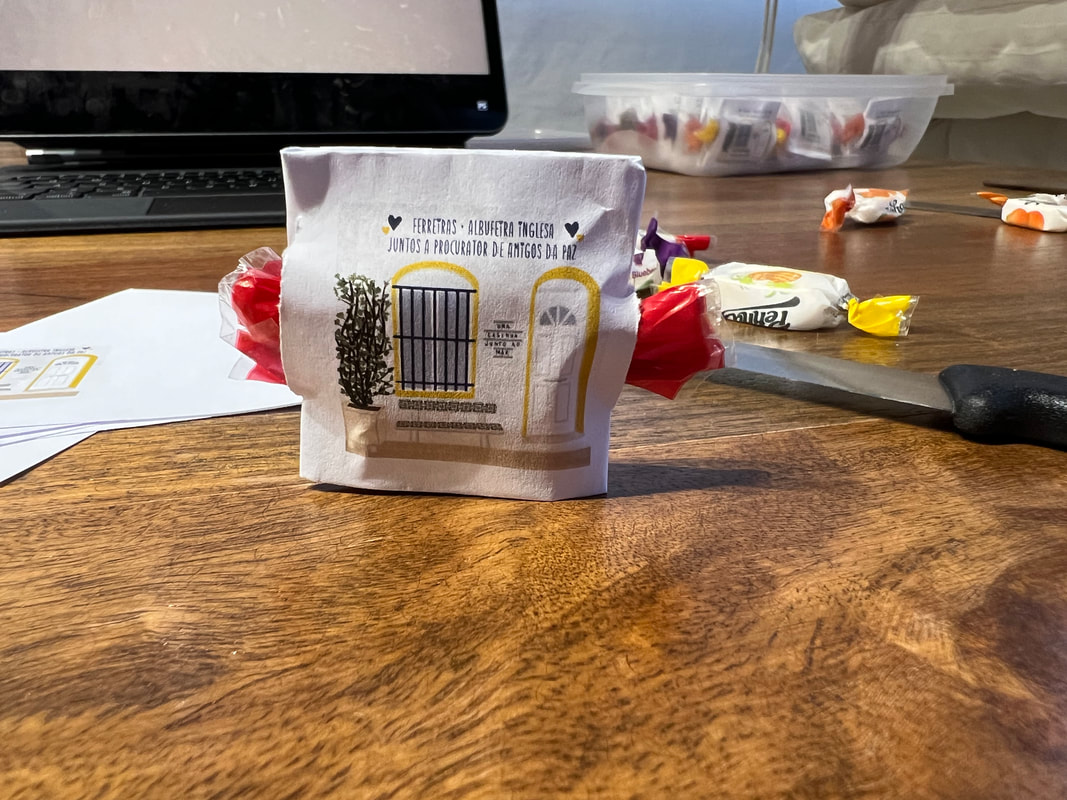
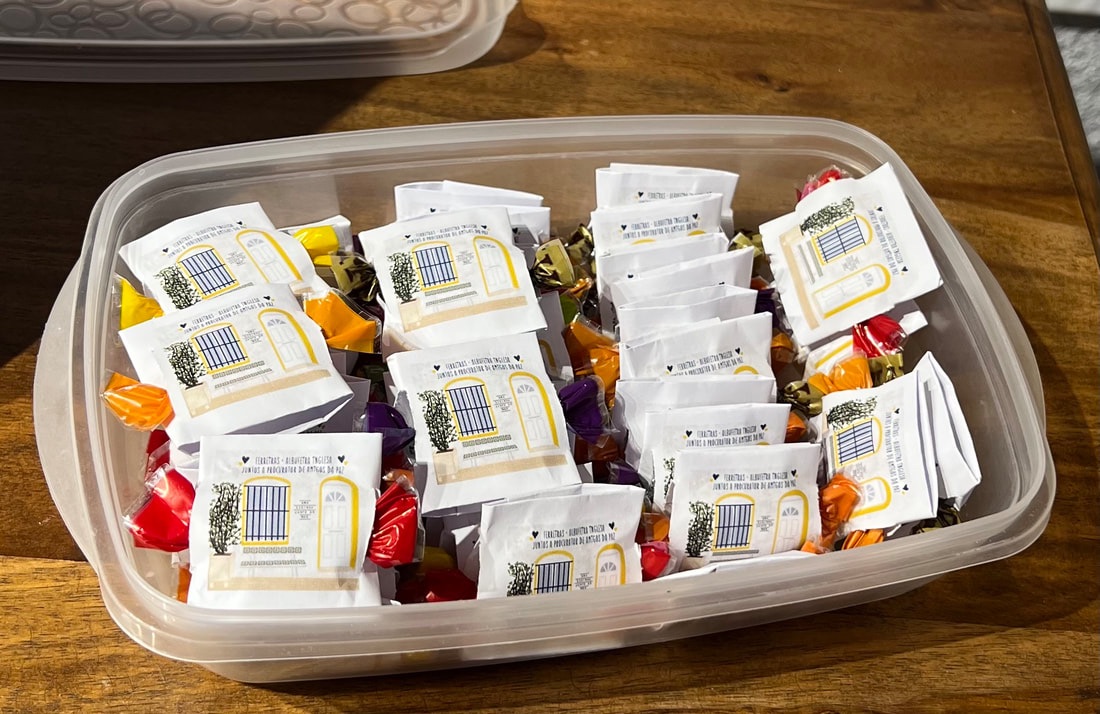
4. Tuck the candy in through each slit5. Fold the excess top and bottom border in.6. Fold the sides over7. Tuck the folded parts into each other so it all stays together!8. Ta-Da! Repeat as many times as you'd like!Wanna skip a step?
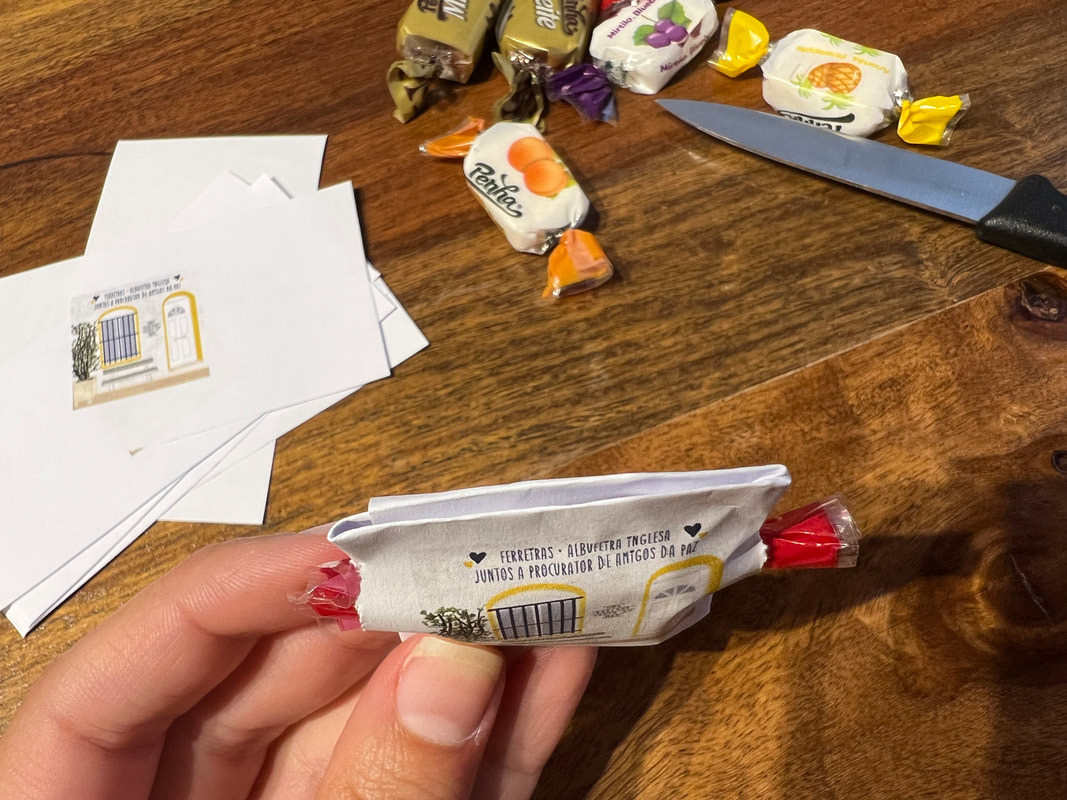
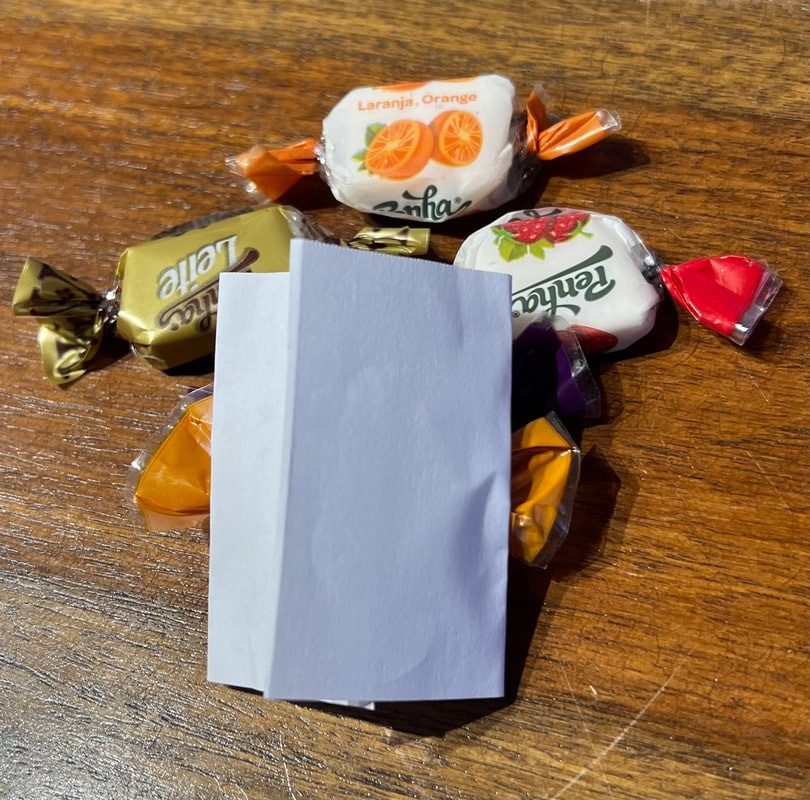
If you don't want to fold them into each other you can skip a step or two by just inserting the candy into the slits and then folding the sides at the back like so!
So there you have it! It's a simple and relatively quick little way to make the candies feel a little more special. It's full of imperfections, uneven edges, irregular cuts, text, and so on, but it doesn't matter. It's really the thought that counts and hopefully it is a small gesture that makes someone's day!
I hope this "tutorial" gives you some inspiration to do something cute and even better! I'd love to hear what you came up with or what candy/treat you used! Any time you think of it, feel free to leave a comment and share! Thanks for visiting Regalitos Para Ti DIY Gift Blog today! Remember to add this page to Pinterest so you can find it again later! ;-) Individually Wrapped Candies
0 Comments
Your comment will be posted after it is approved.
Leave a Reply. |
Popular CategoriesAdditional CategoriesDigital Planning
DIY Ideas Education Face Masks Family Worship Field Ministry Supplies Games Greeting Cards Jewelry LDC Leather Mugs Pioneer School Escuela De Precursores Planners Return Visit Books Sticker Downloads Stickers Year Text Etsy Shops:Gift Ideas:Letter Writing Cards & StationaryShop Unique: |








 RSS Feed
